Nursery Night Sky Feature Wall
My little baby girl is on her way (probably here by the time I publish this). We knew we wanted to theme her nursery to something cool. At one point it was going to be dinosaurs, because dinosaurs are awesome. But that sounded complicated and we are really after subtle theming that doesn't over-power the room or require us to buy too much specific themed furniture. Then we thought about theme parks, but that started to verge towards clowns and loud colour palettes.
So we eventually settled on "Space". Space is great because it ticks lots of boxes. It doesn't have to take over the room, it's awesome, nerdy, and she is named after a constellation of stars. Perfect!
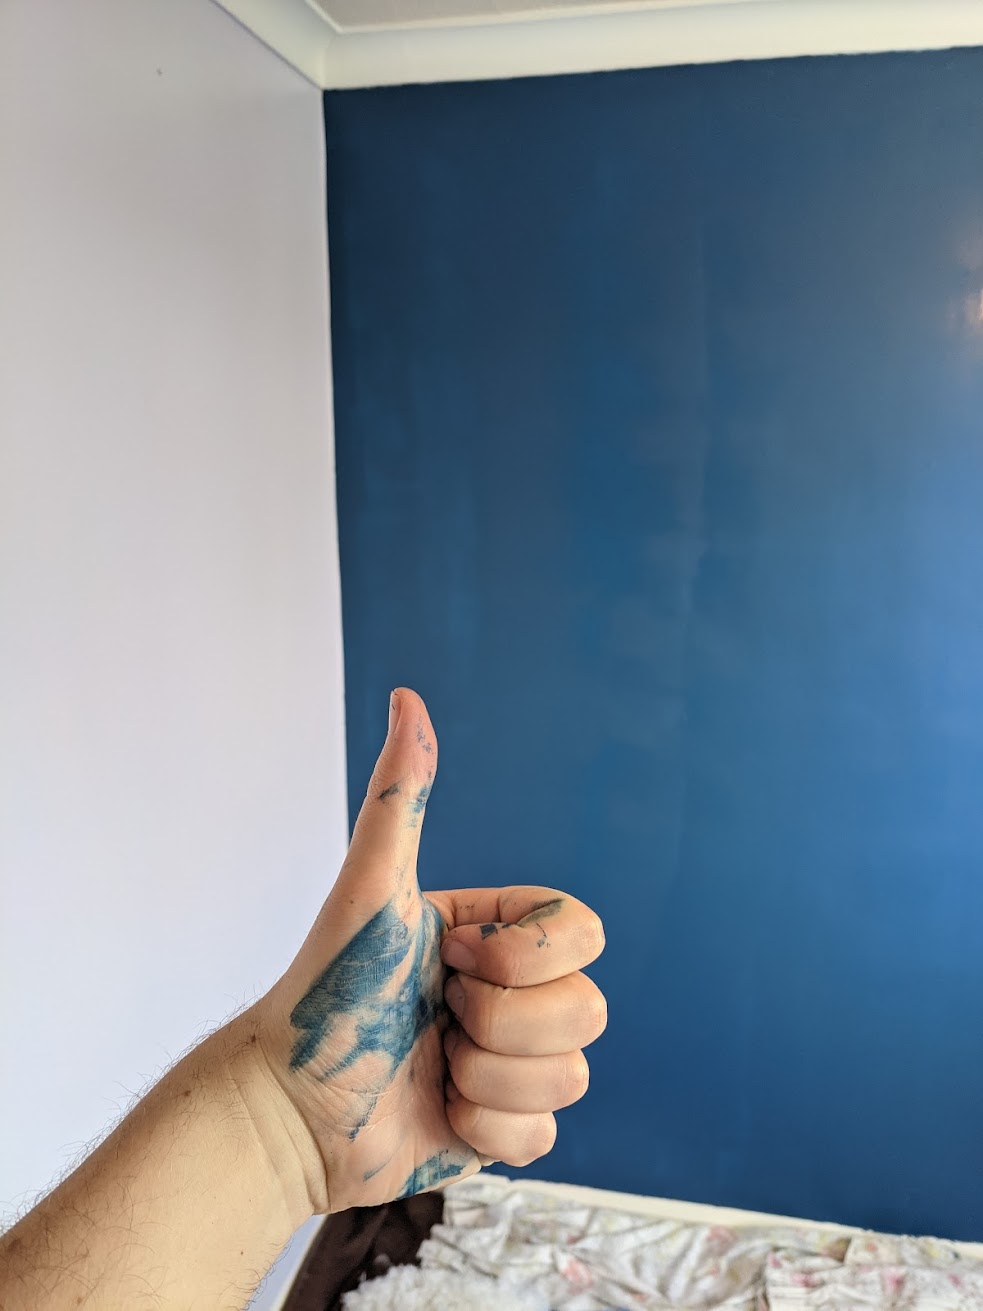
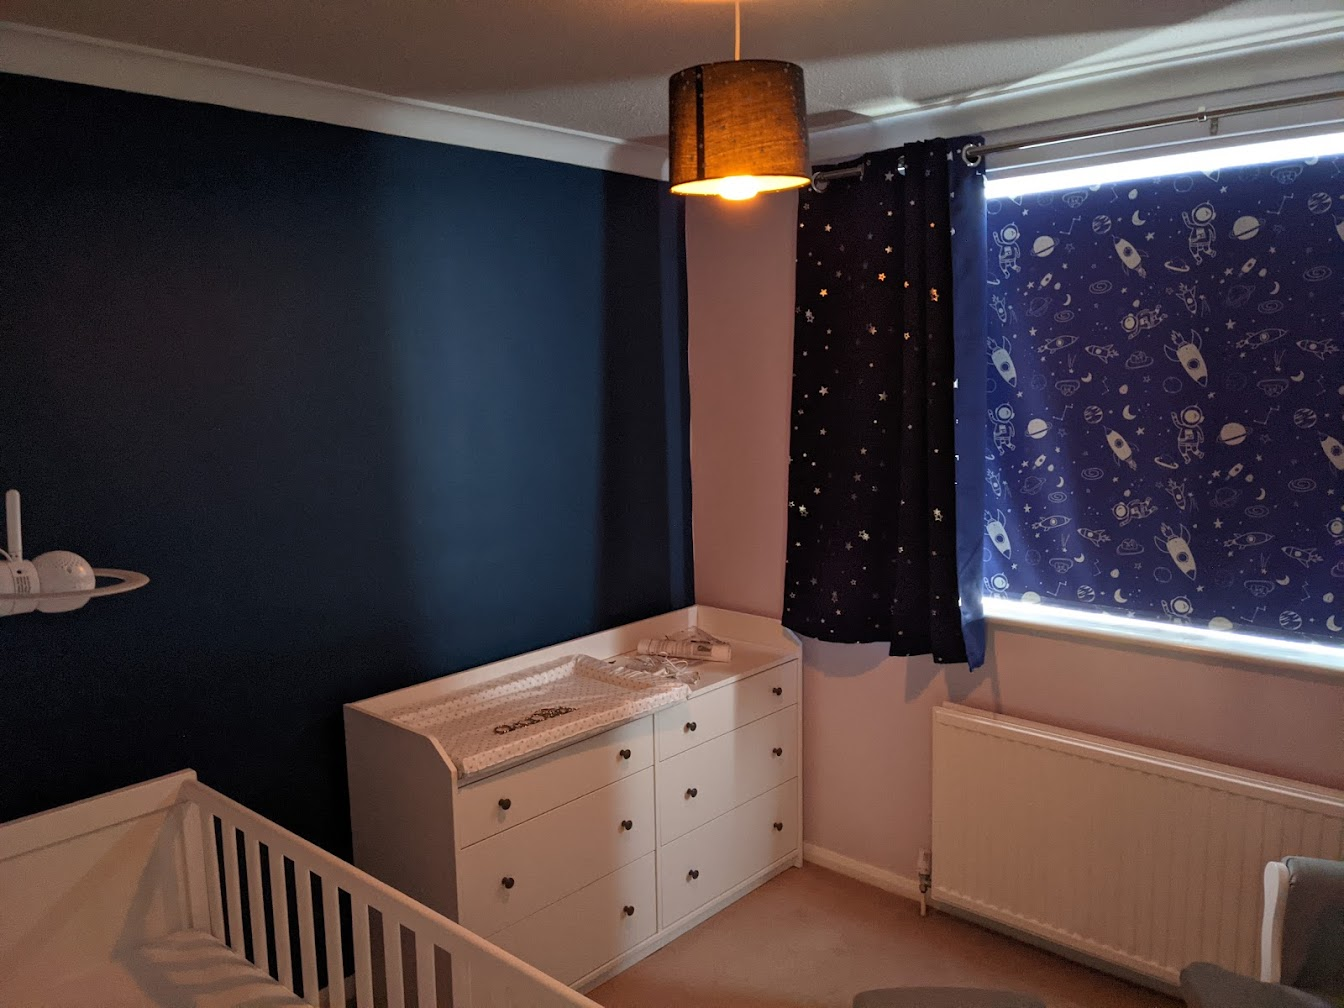
We painted her room mostly in a light subtle purple colour, with a dark blue feature wall with matching star curtains.
To finish our feature wall, I wanted to paint the night stars over it, capturing her constellation. Conveniently this wall faces the correct orientation to see this constellation in real life (most the time), so I booted up Stellarium and found the stars I wanted.
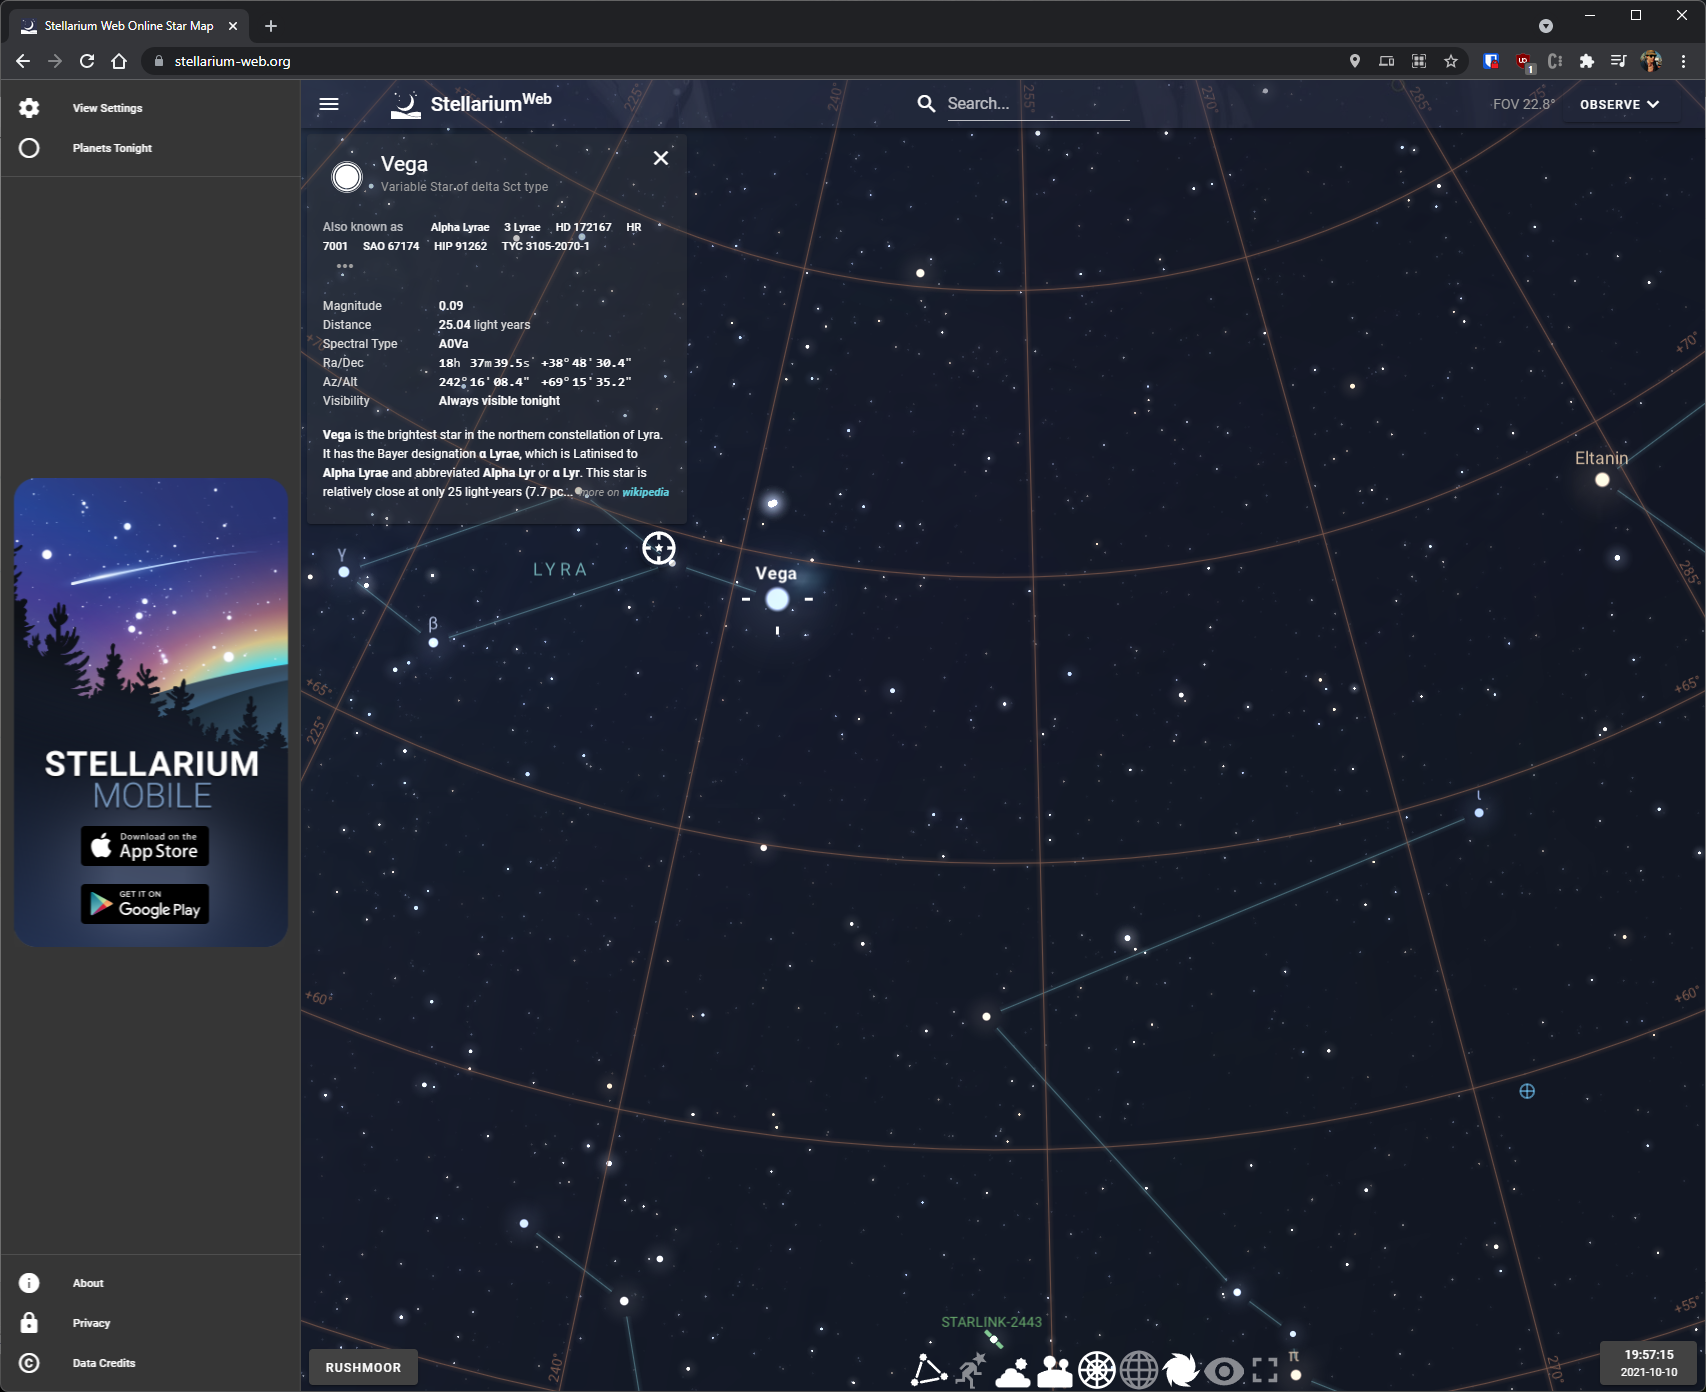
But how do I get this onto my wall?
Attempt 1 - Tracing Over Monitor
My general plan here is to figure out a way to "project" an image of the stars onto the wall. I have some greaseproof paper, which is not completely opaque, so I thought might be a good stand-in for tracing paper.
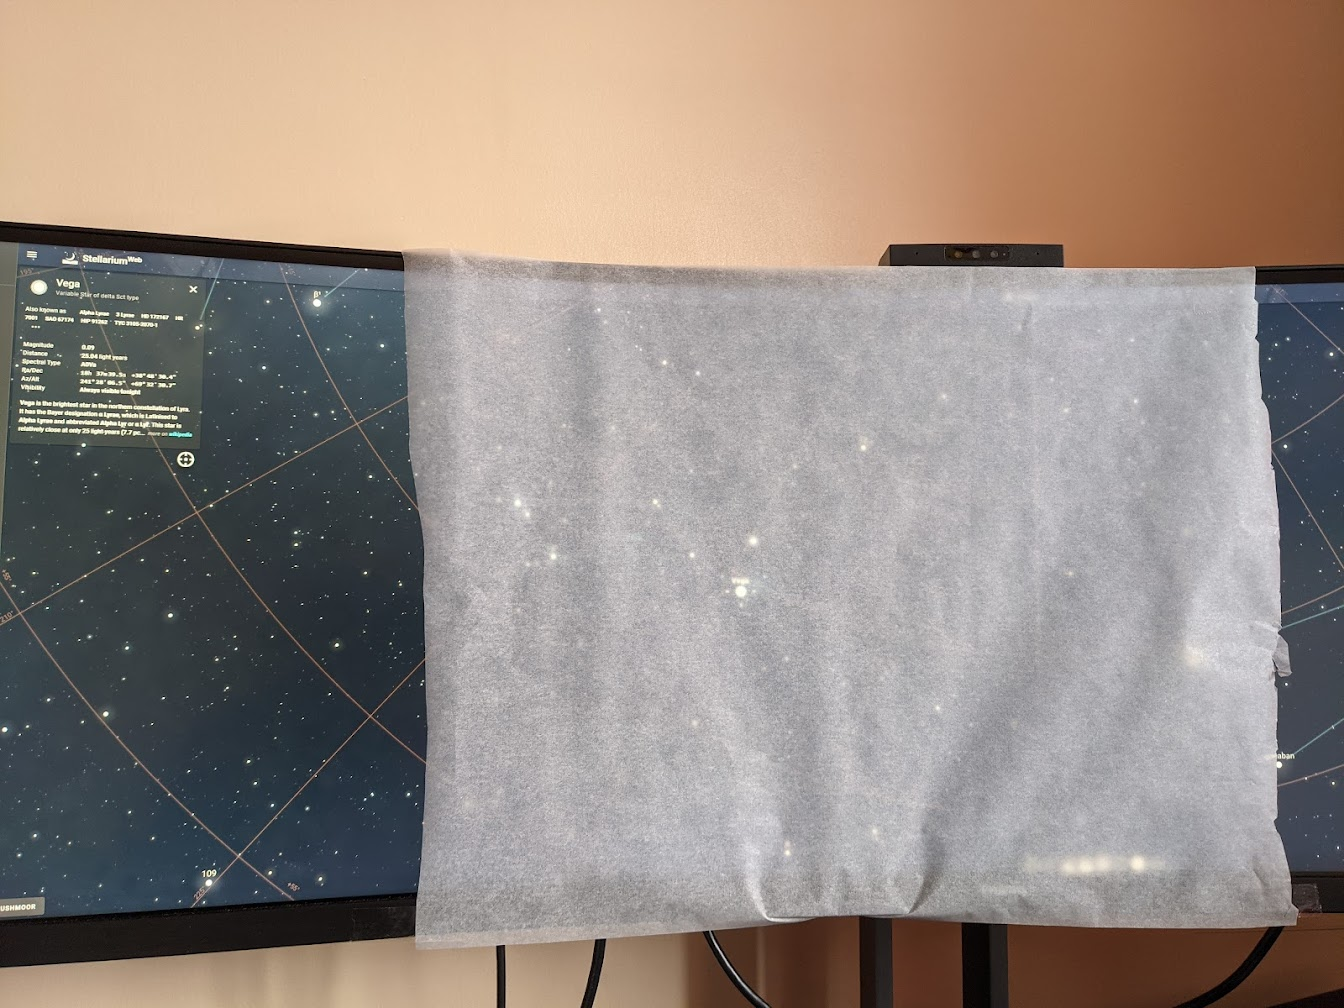
I sellotaped some greaseproof paper to my computer monitor and (VERY carefully) pencilled the stars I wanted to transfer.
Protip #1: Pause Stellarium before doing this! The night sky moves must faster than you think!
Looking back at the paper, I didn't transfer anywhere near enough stars. It was time consuming to try and pencil them without damaging my monitor, and it was hard to see. So I decided to move on and try something else.
Attempt 2 - Printing
My next plan is to print onto normal paper, and then trace off of this with a nice thick pen so my greaseproof paper will have a clearer outline.
I screenshotted the area I wanted to capture, and pasted it into GIMP.
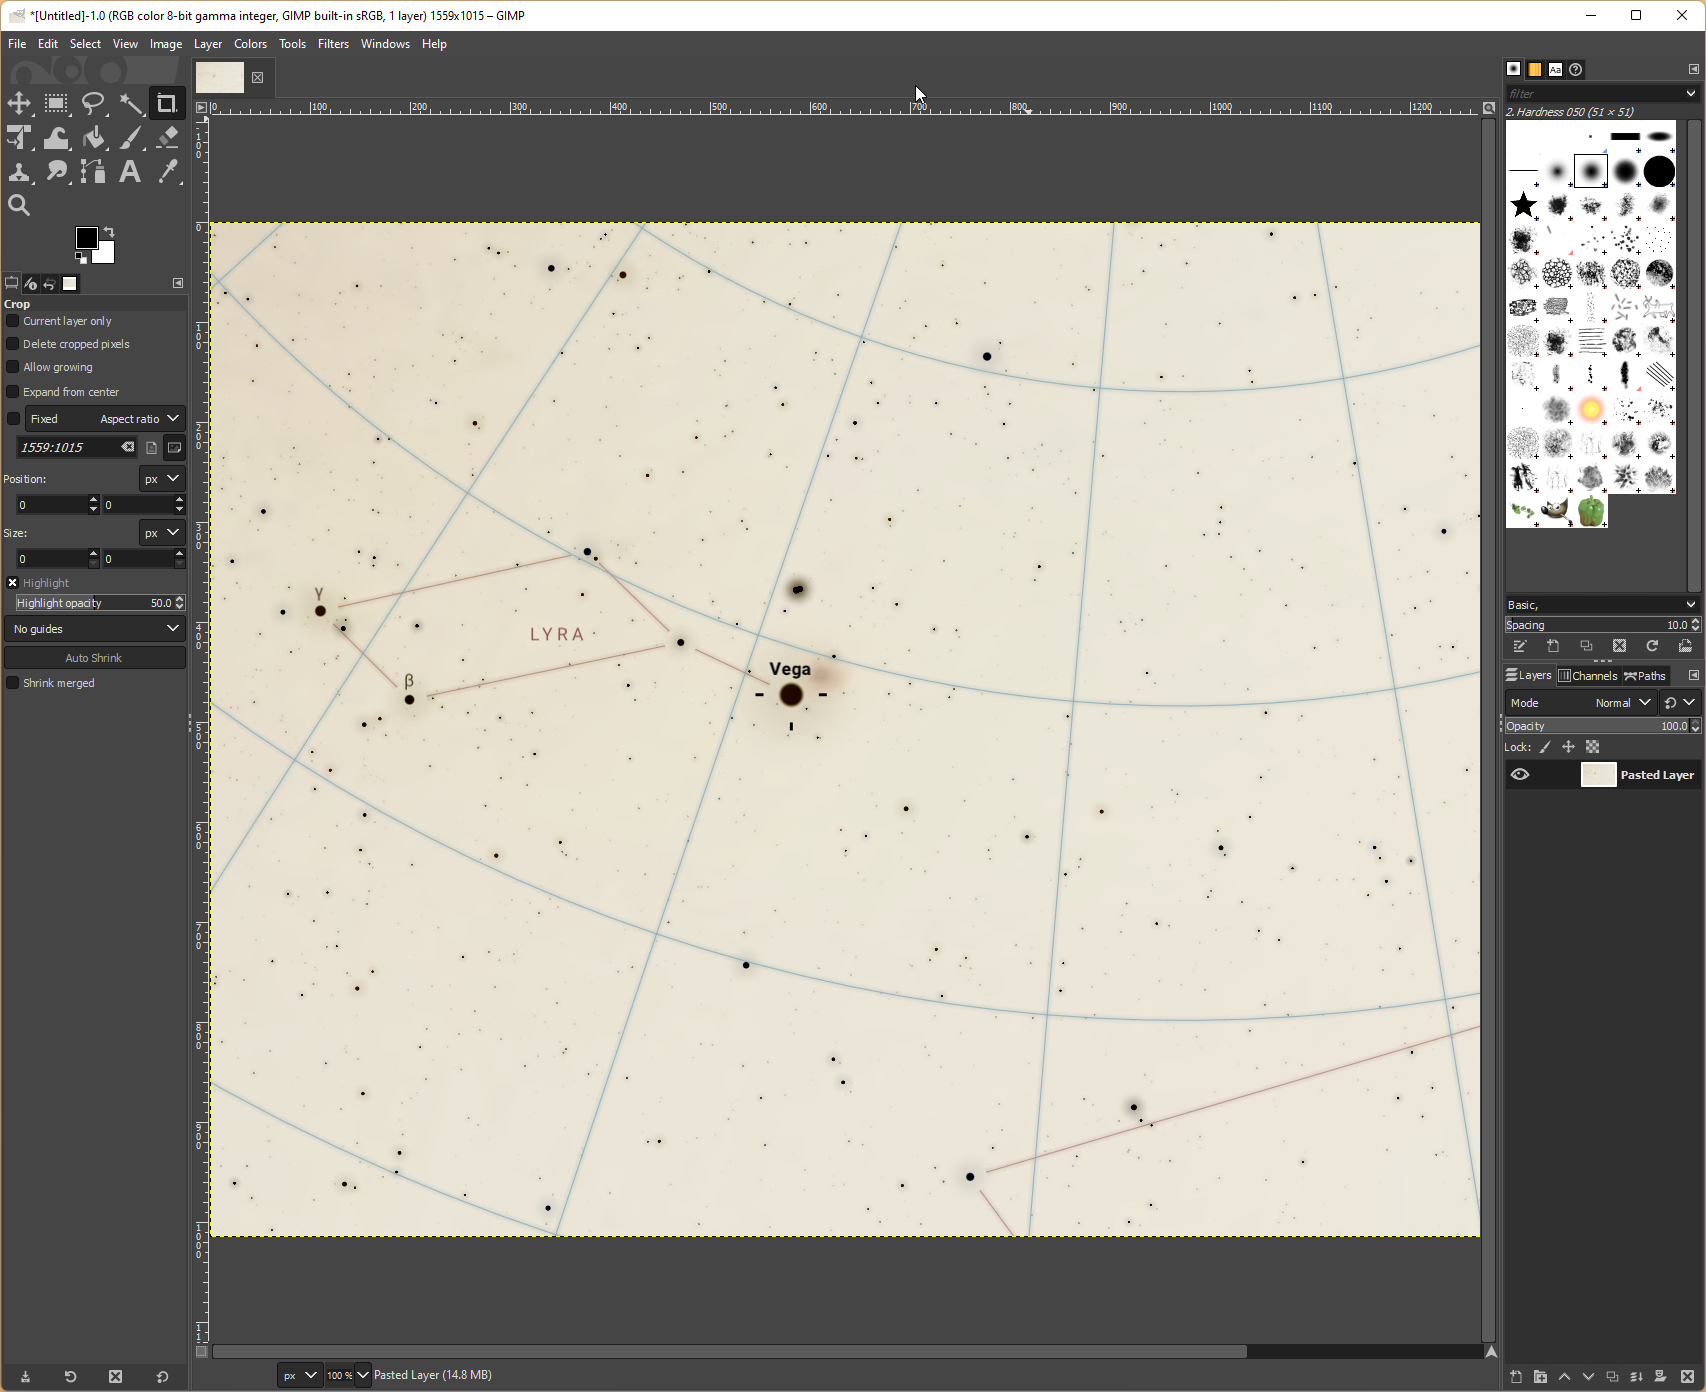
Here, I inverted the colours so that the sky is black, and the stars are white (to give my poor printer an easier time).
To get the sky completely white, I played with the Color Curves.

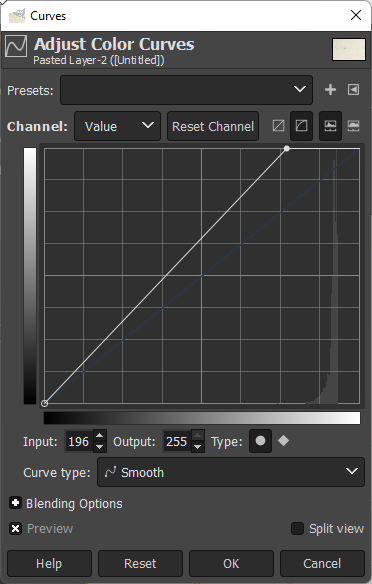
Moving the upper-right point over to the left, I can lose a lot of the "not quite whites" and force them to actual white. This lets me print the stars as black blobs easily.

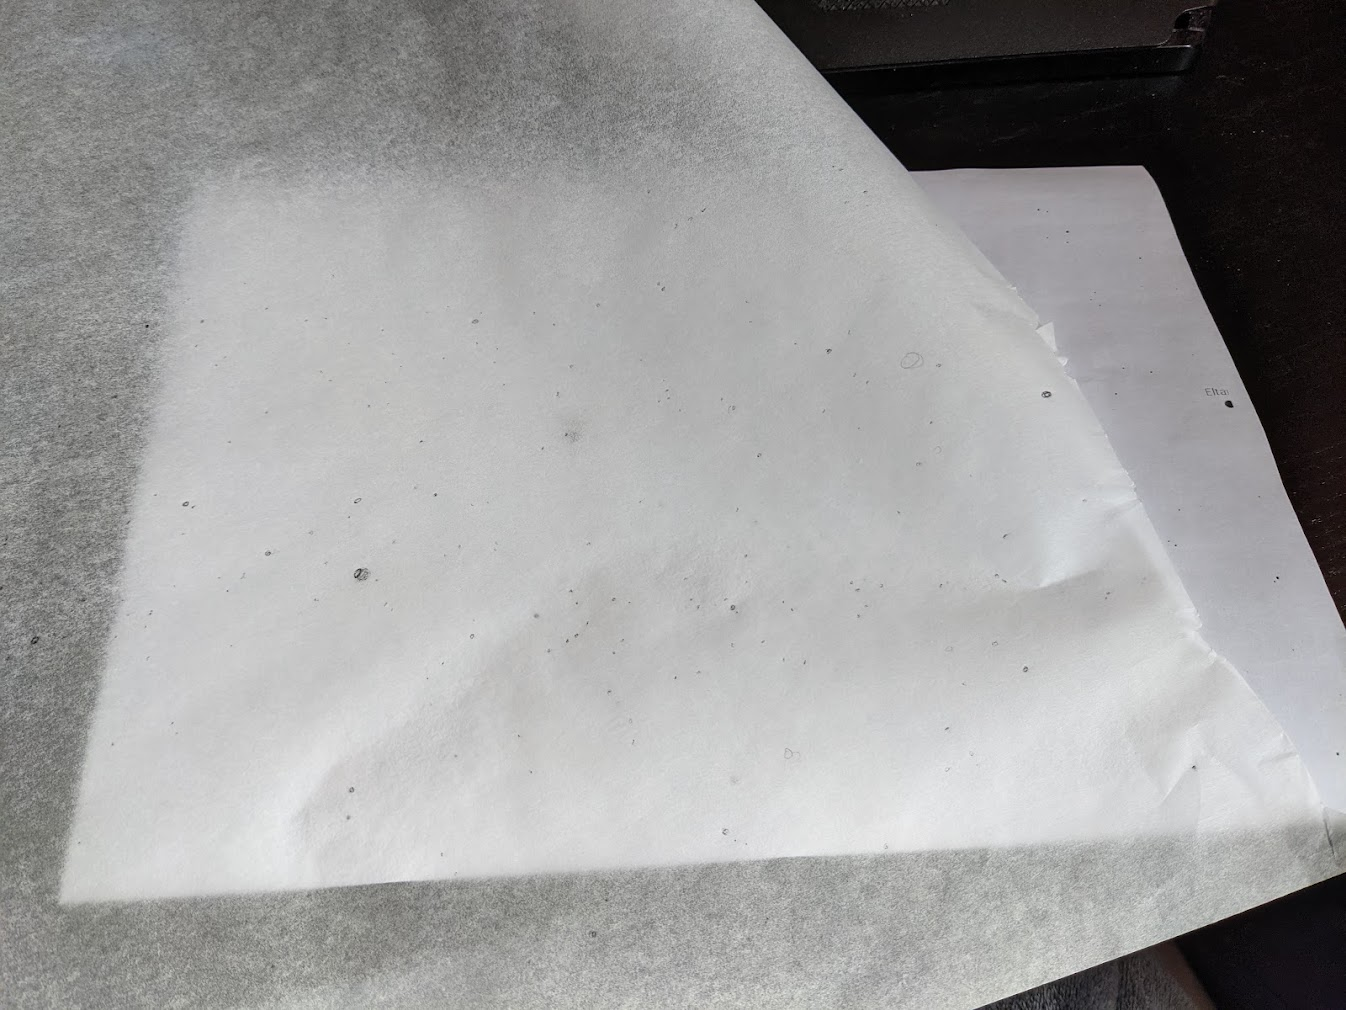
I ended up with this image, which I printed out. I traced this over onto my greaseproof paper and held it up to my phone's torch to project the night sky!
And... nothing.
In hindsight, I should have just doodled something onto the paper and seen if light generally would shine through the paper and not ink. Nothing was projected as the ink was letting through about the same amount of light as the paper. Because the surface area of the paper is quite large, light was bleeding around the ink too, so I couldn't see the shapes.
Attempt 3: Clingfilm to the rescue!
Hunting for something more transparent, I realised I ignored clingfilm, which is kept right next to the greaseproof paper in my house. However, I needed to keep it "tight" and flat for me to project using it.
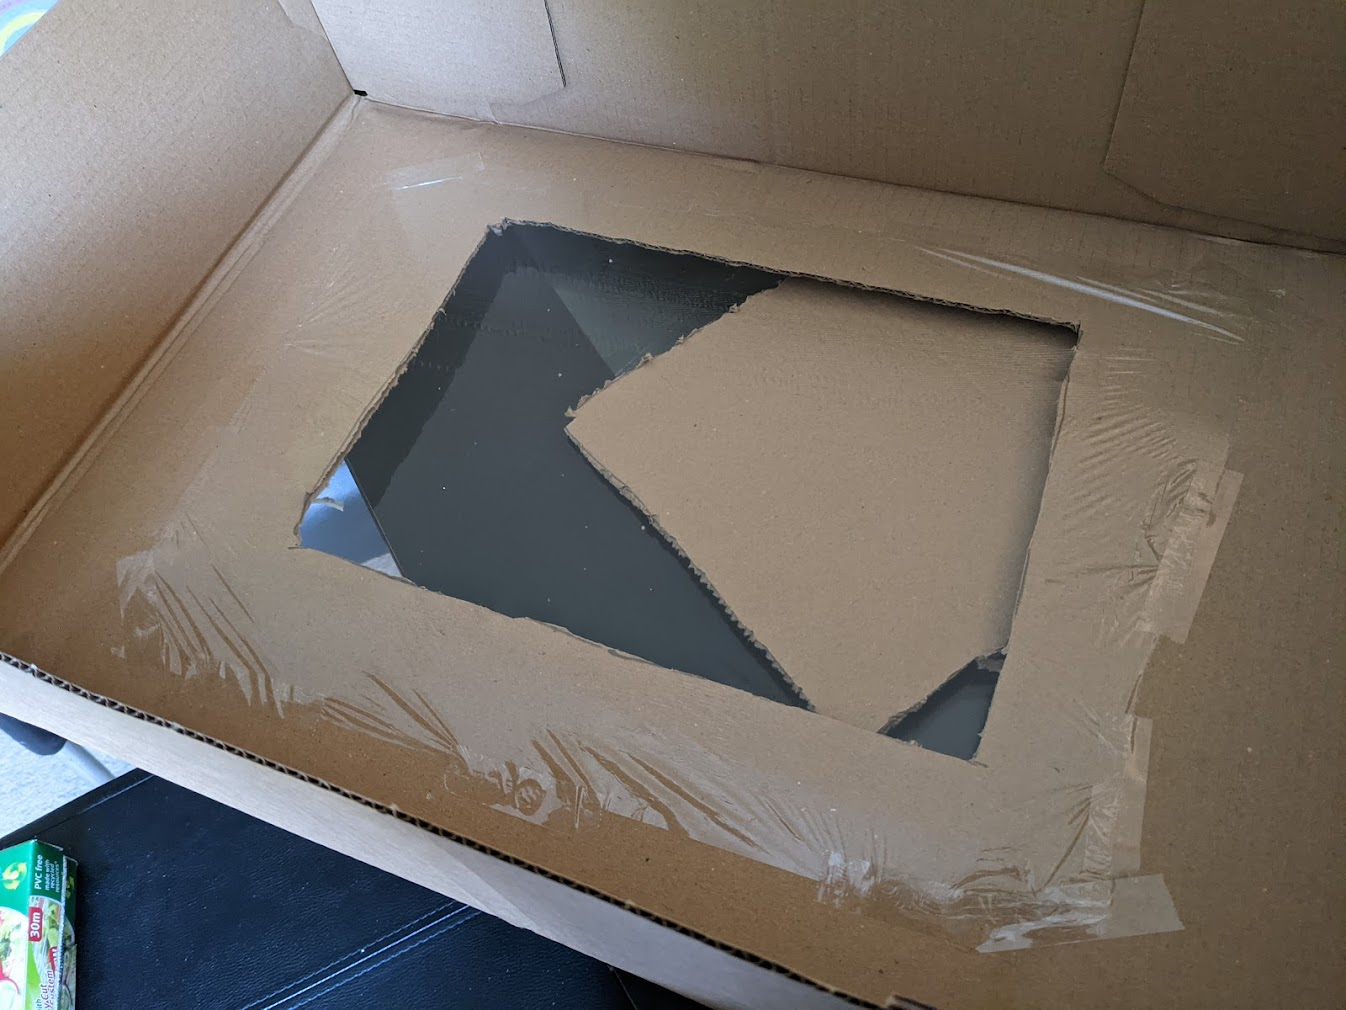
I went in search of an old photo frame to use, but I stumbled on a LEGO box that had arrived a few days earlier. So I measured the A4 template I wanted to capture, cut a hole out, and stuck down a piece of clingfilm.
Then I found the "inkiest" black marker I could find, and traced over my star map I printed earlier.
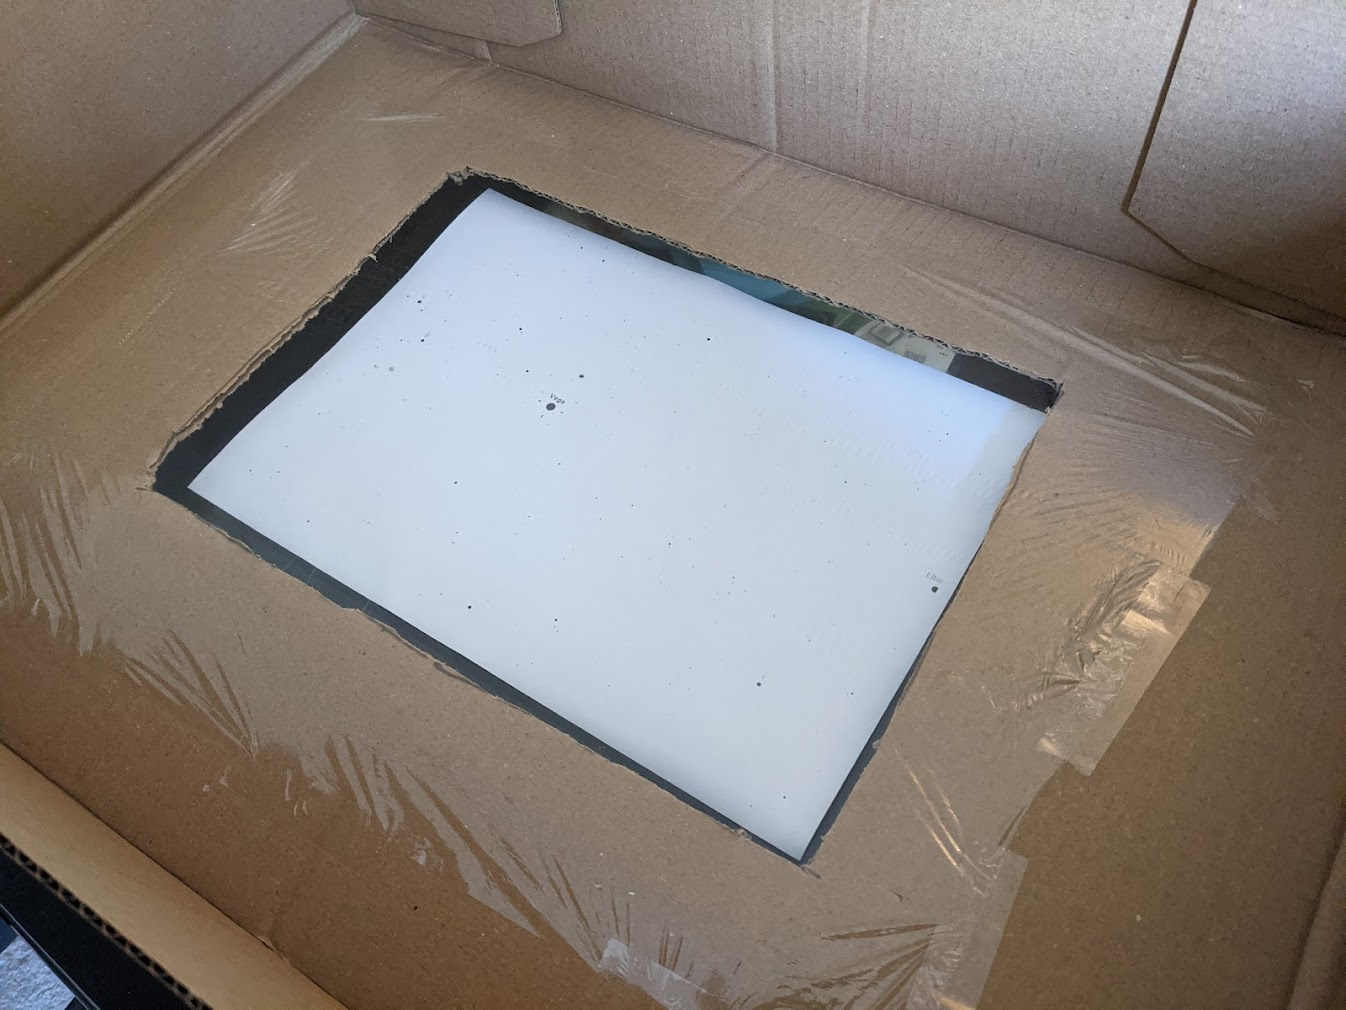
NOTE: Get this the right way around to make sure the stars aren't flipped when projecting!
I used a little phone stand I have lying around to prop up my phone, and perched the box carefully on the end of a stool.
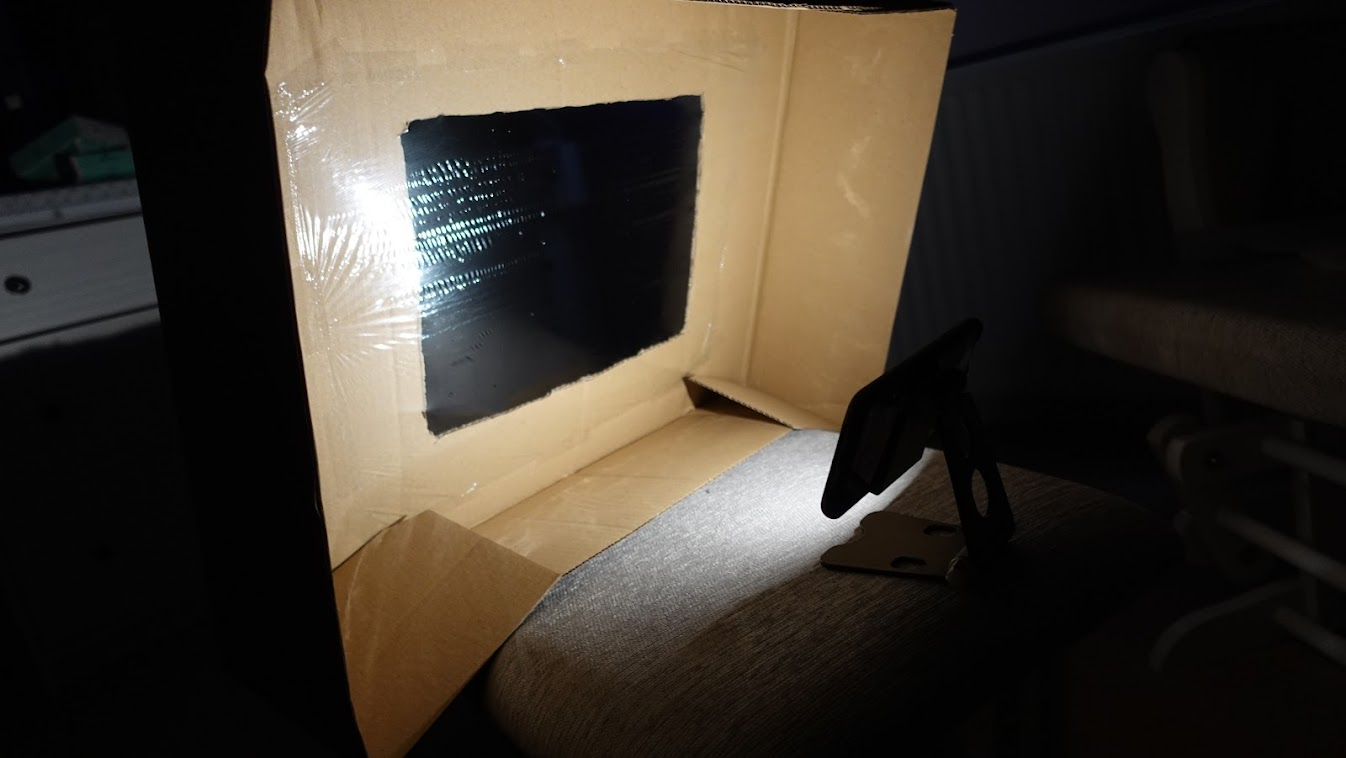
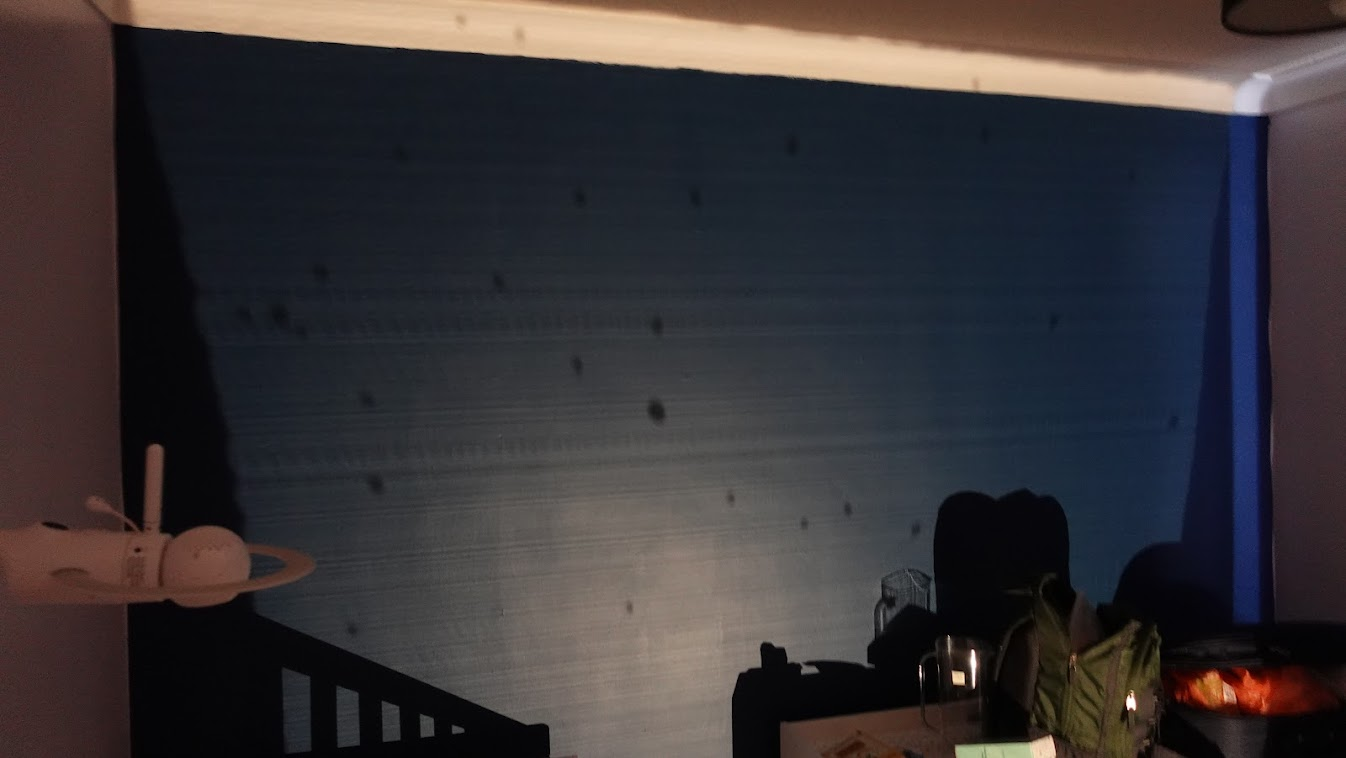
Voila! A rough star map on the wall!
I realised immediately that the projection is going to be skewed because I'm projecting from the floor onto the wall that is much higher. But, I am accepting that I've already messed with the reality of the projection by fiddling with Stellarium and I am not at the point that artistic license is ruling most of my actions!
Now the tricky part was not blocking the light and roughly drawing the blobs I could see on the projection.
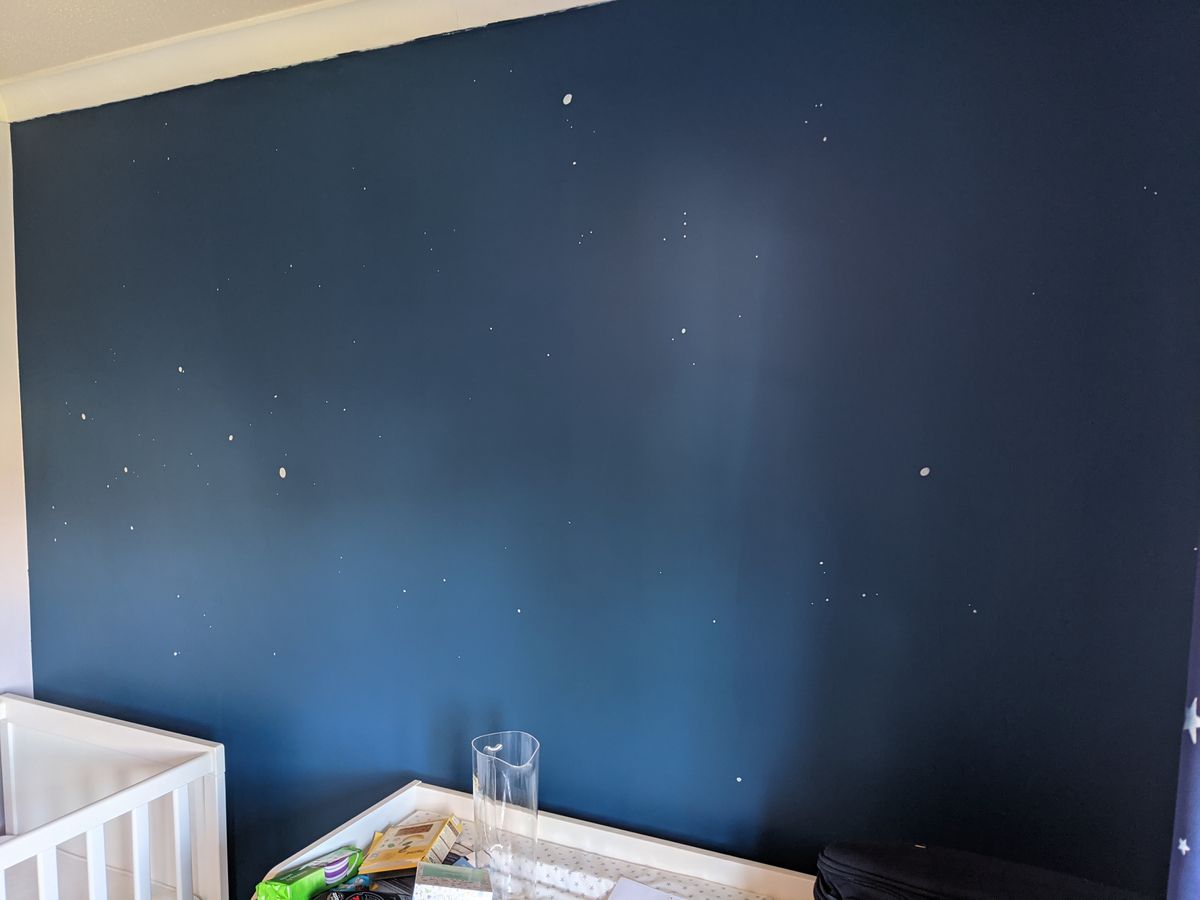
I could only see the larger blobs on the wall, so I did these best I could. Then I turned the lights on, held up the original printed star map I used earlier and filled in any extra stars that got left off from the dodgy projection.
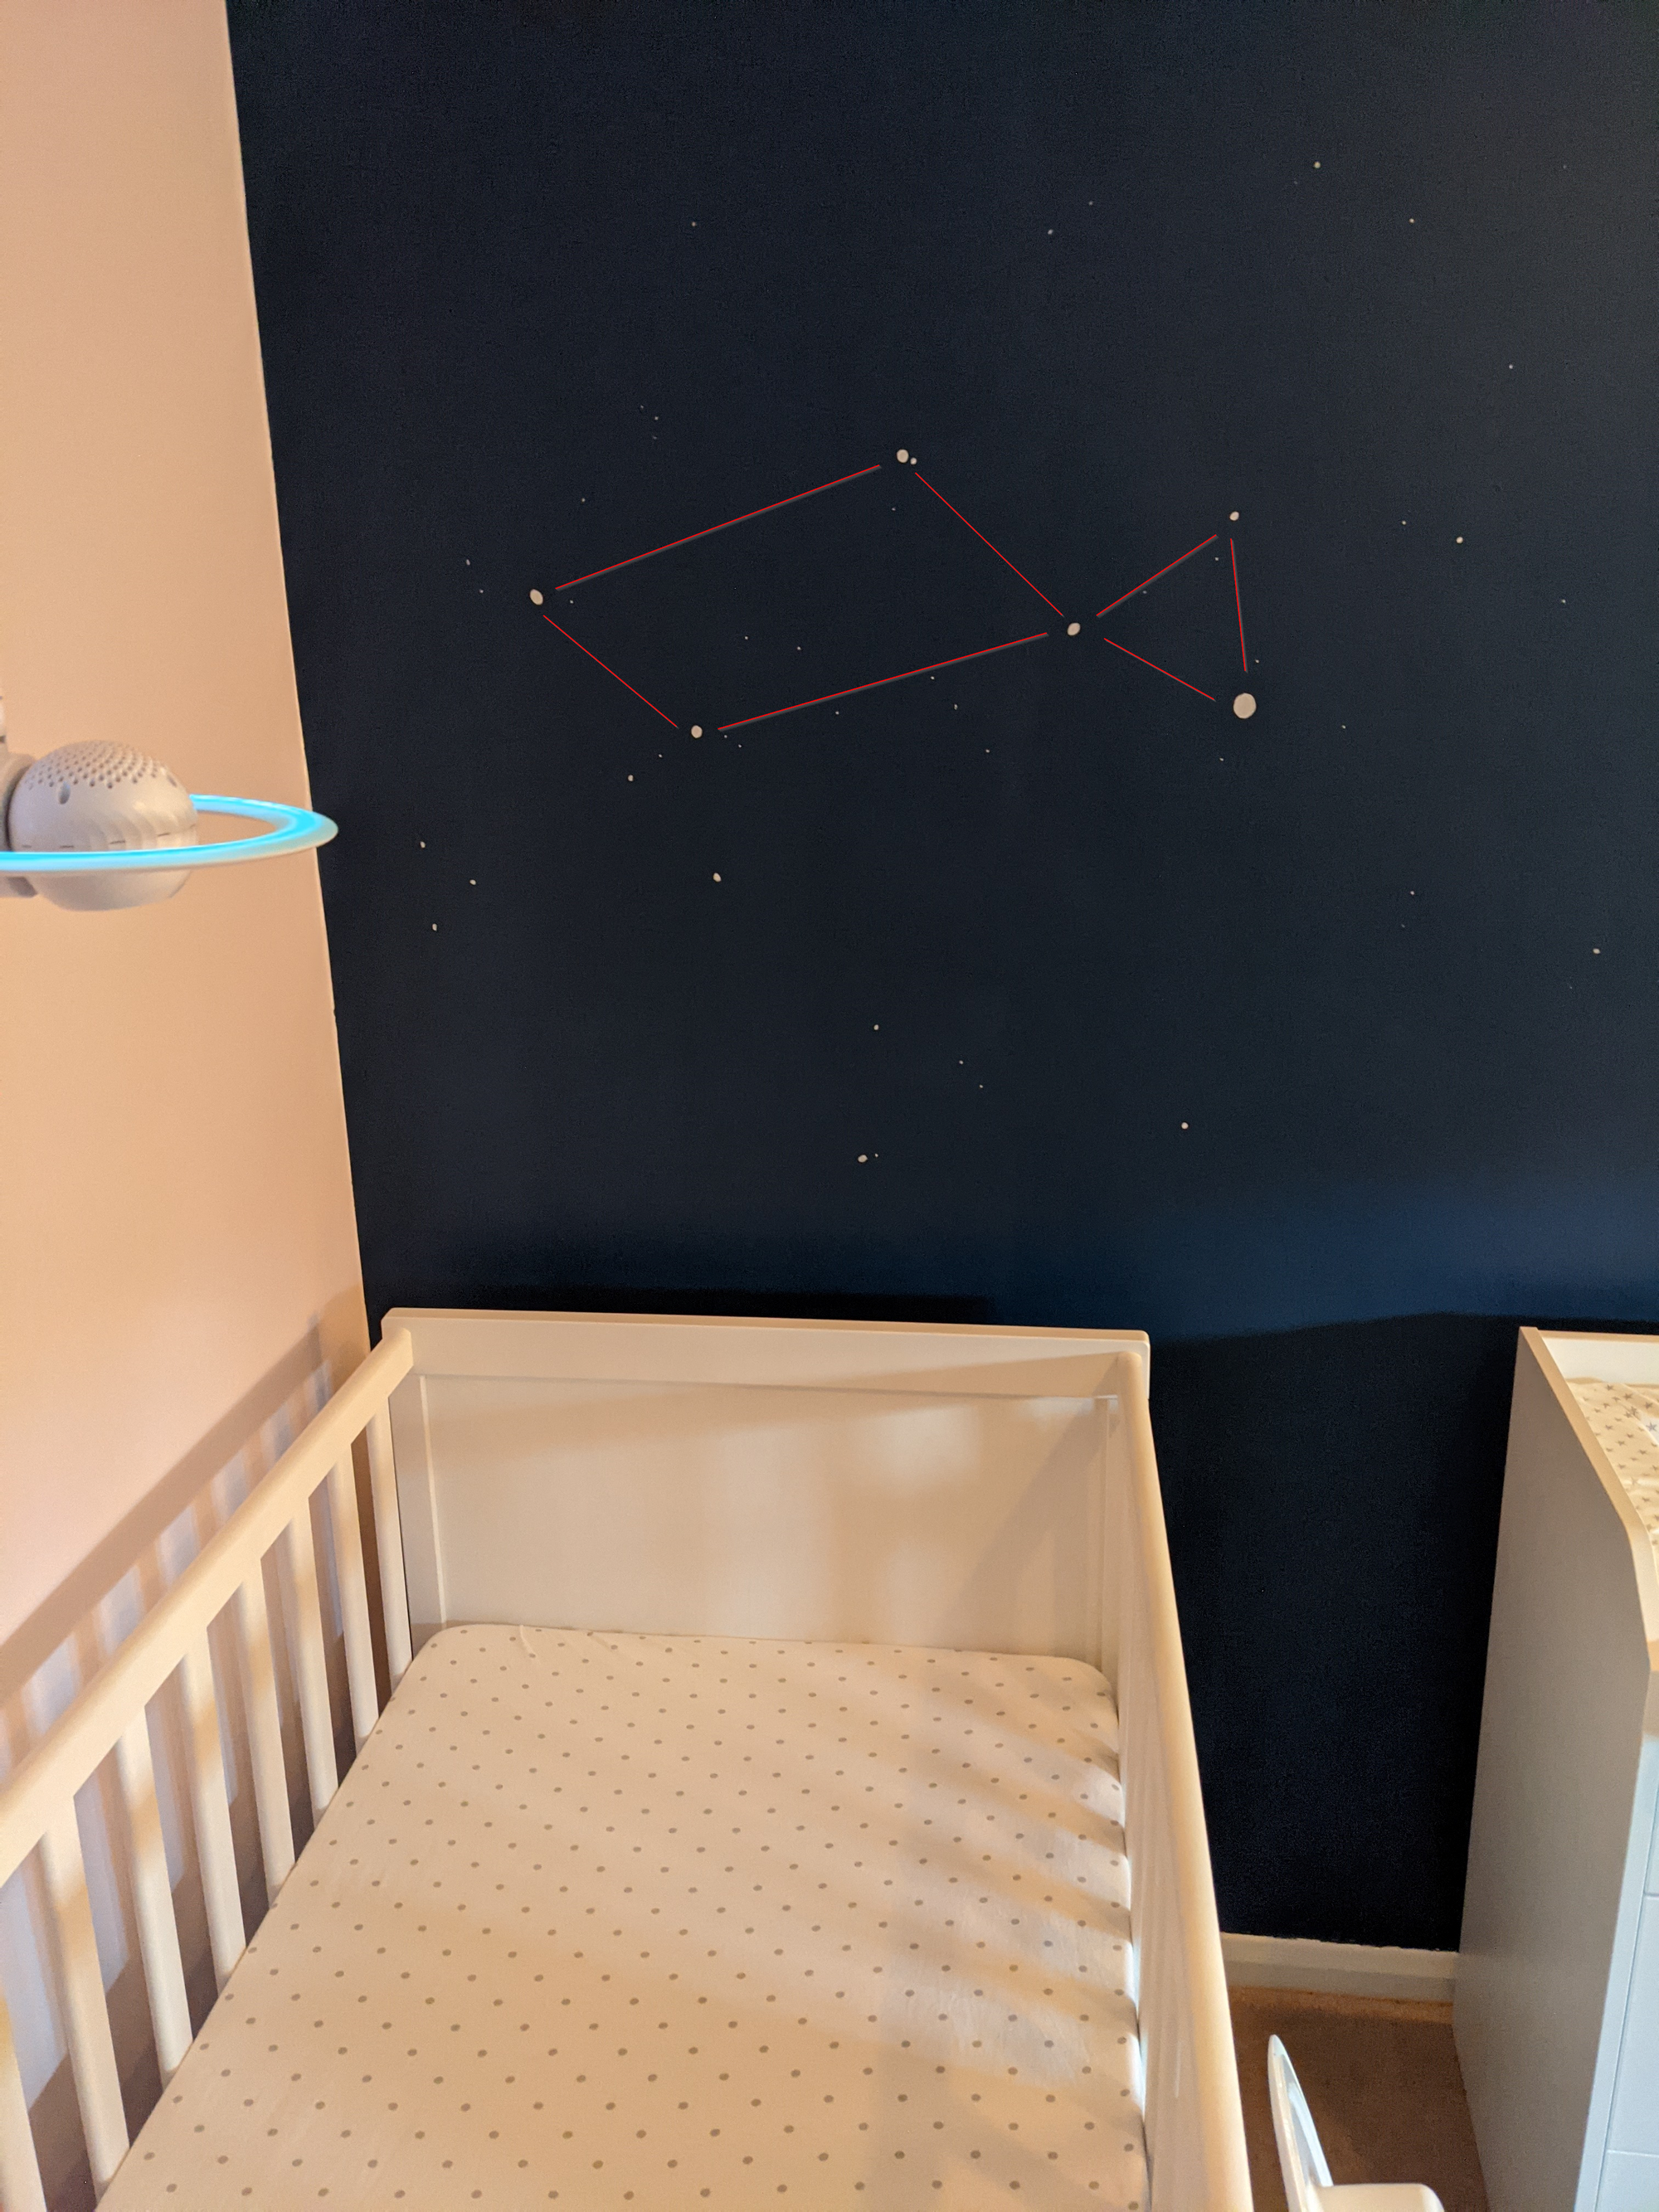
Any the final result!
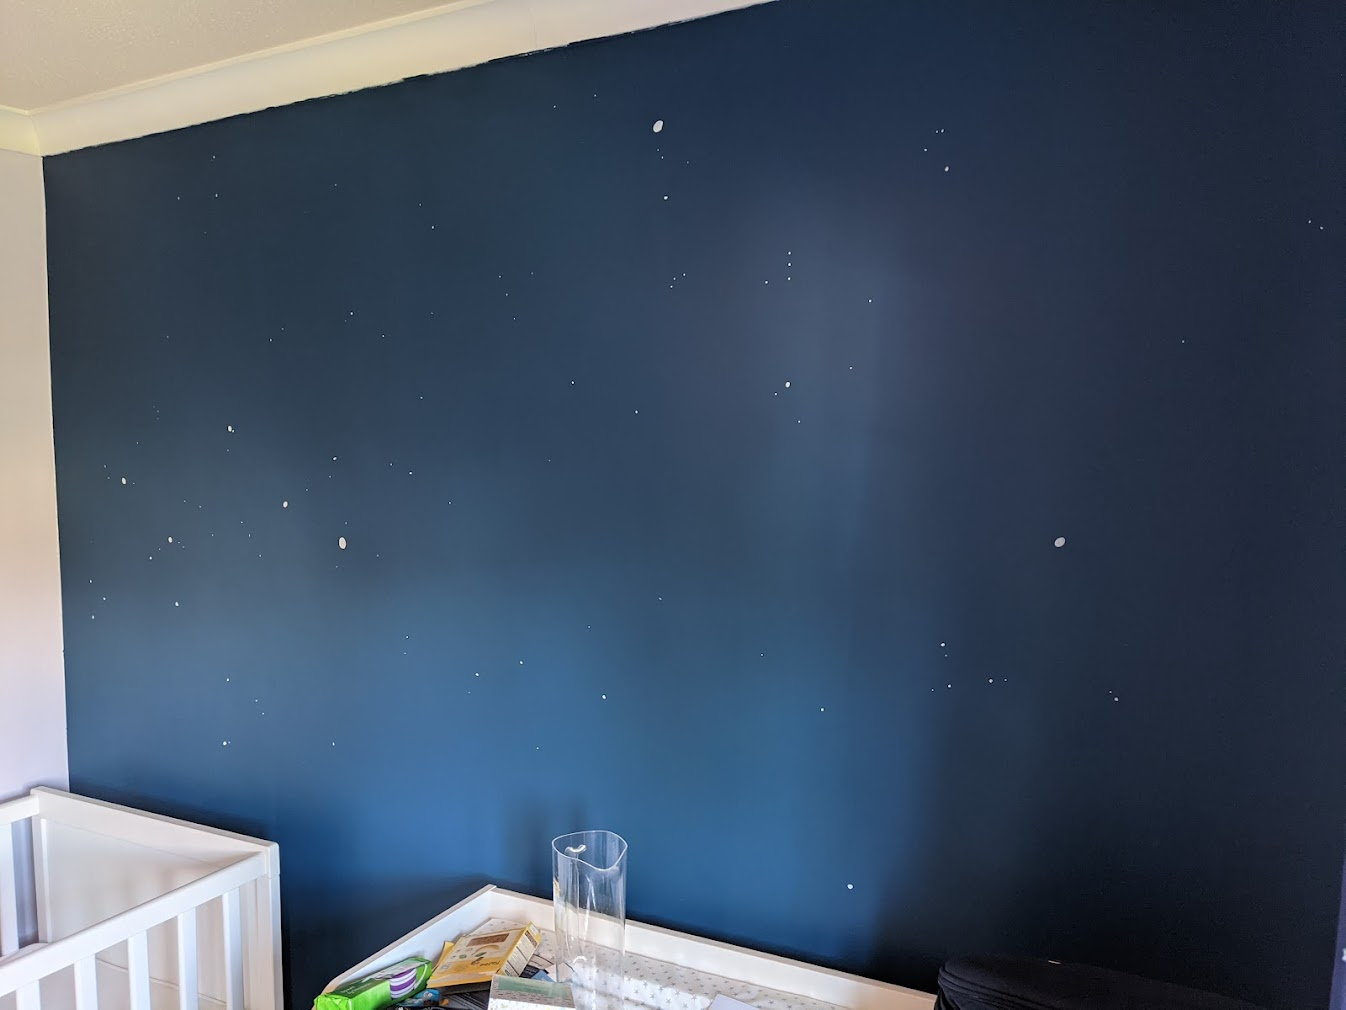
I'm pretty happy with this, it looks neat at a distant, and looks distinctly "homemade" and a bit scrappy up close. I am very very happy I used a real map of the stars to plot this out, as I know if I eye-balled some stars they would end up looking too "manufactured" and too evenly spaced out (my engineering brain demands uniformity).
Update: My little girl Lyra is now with us!
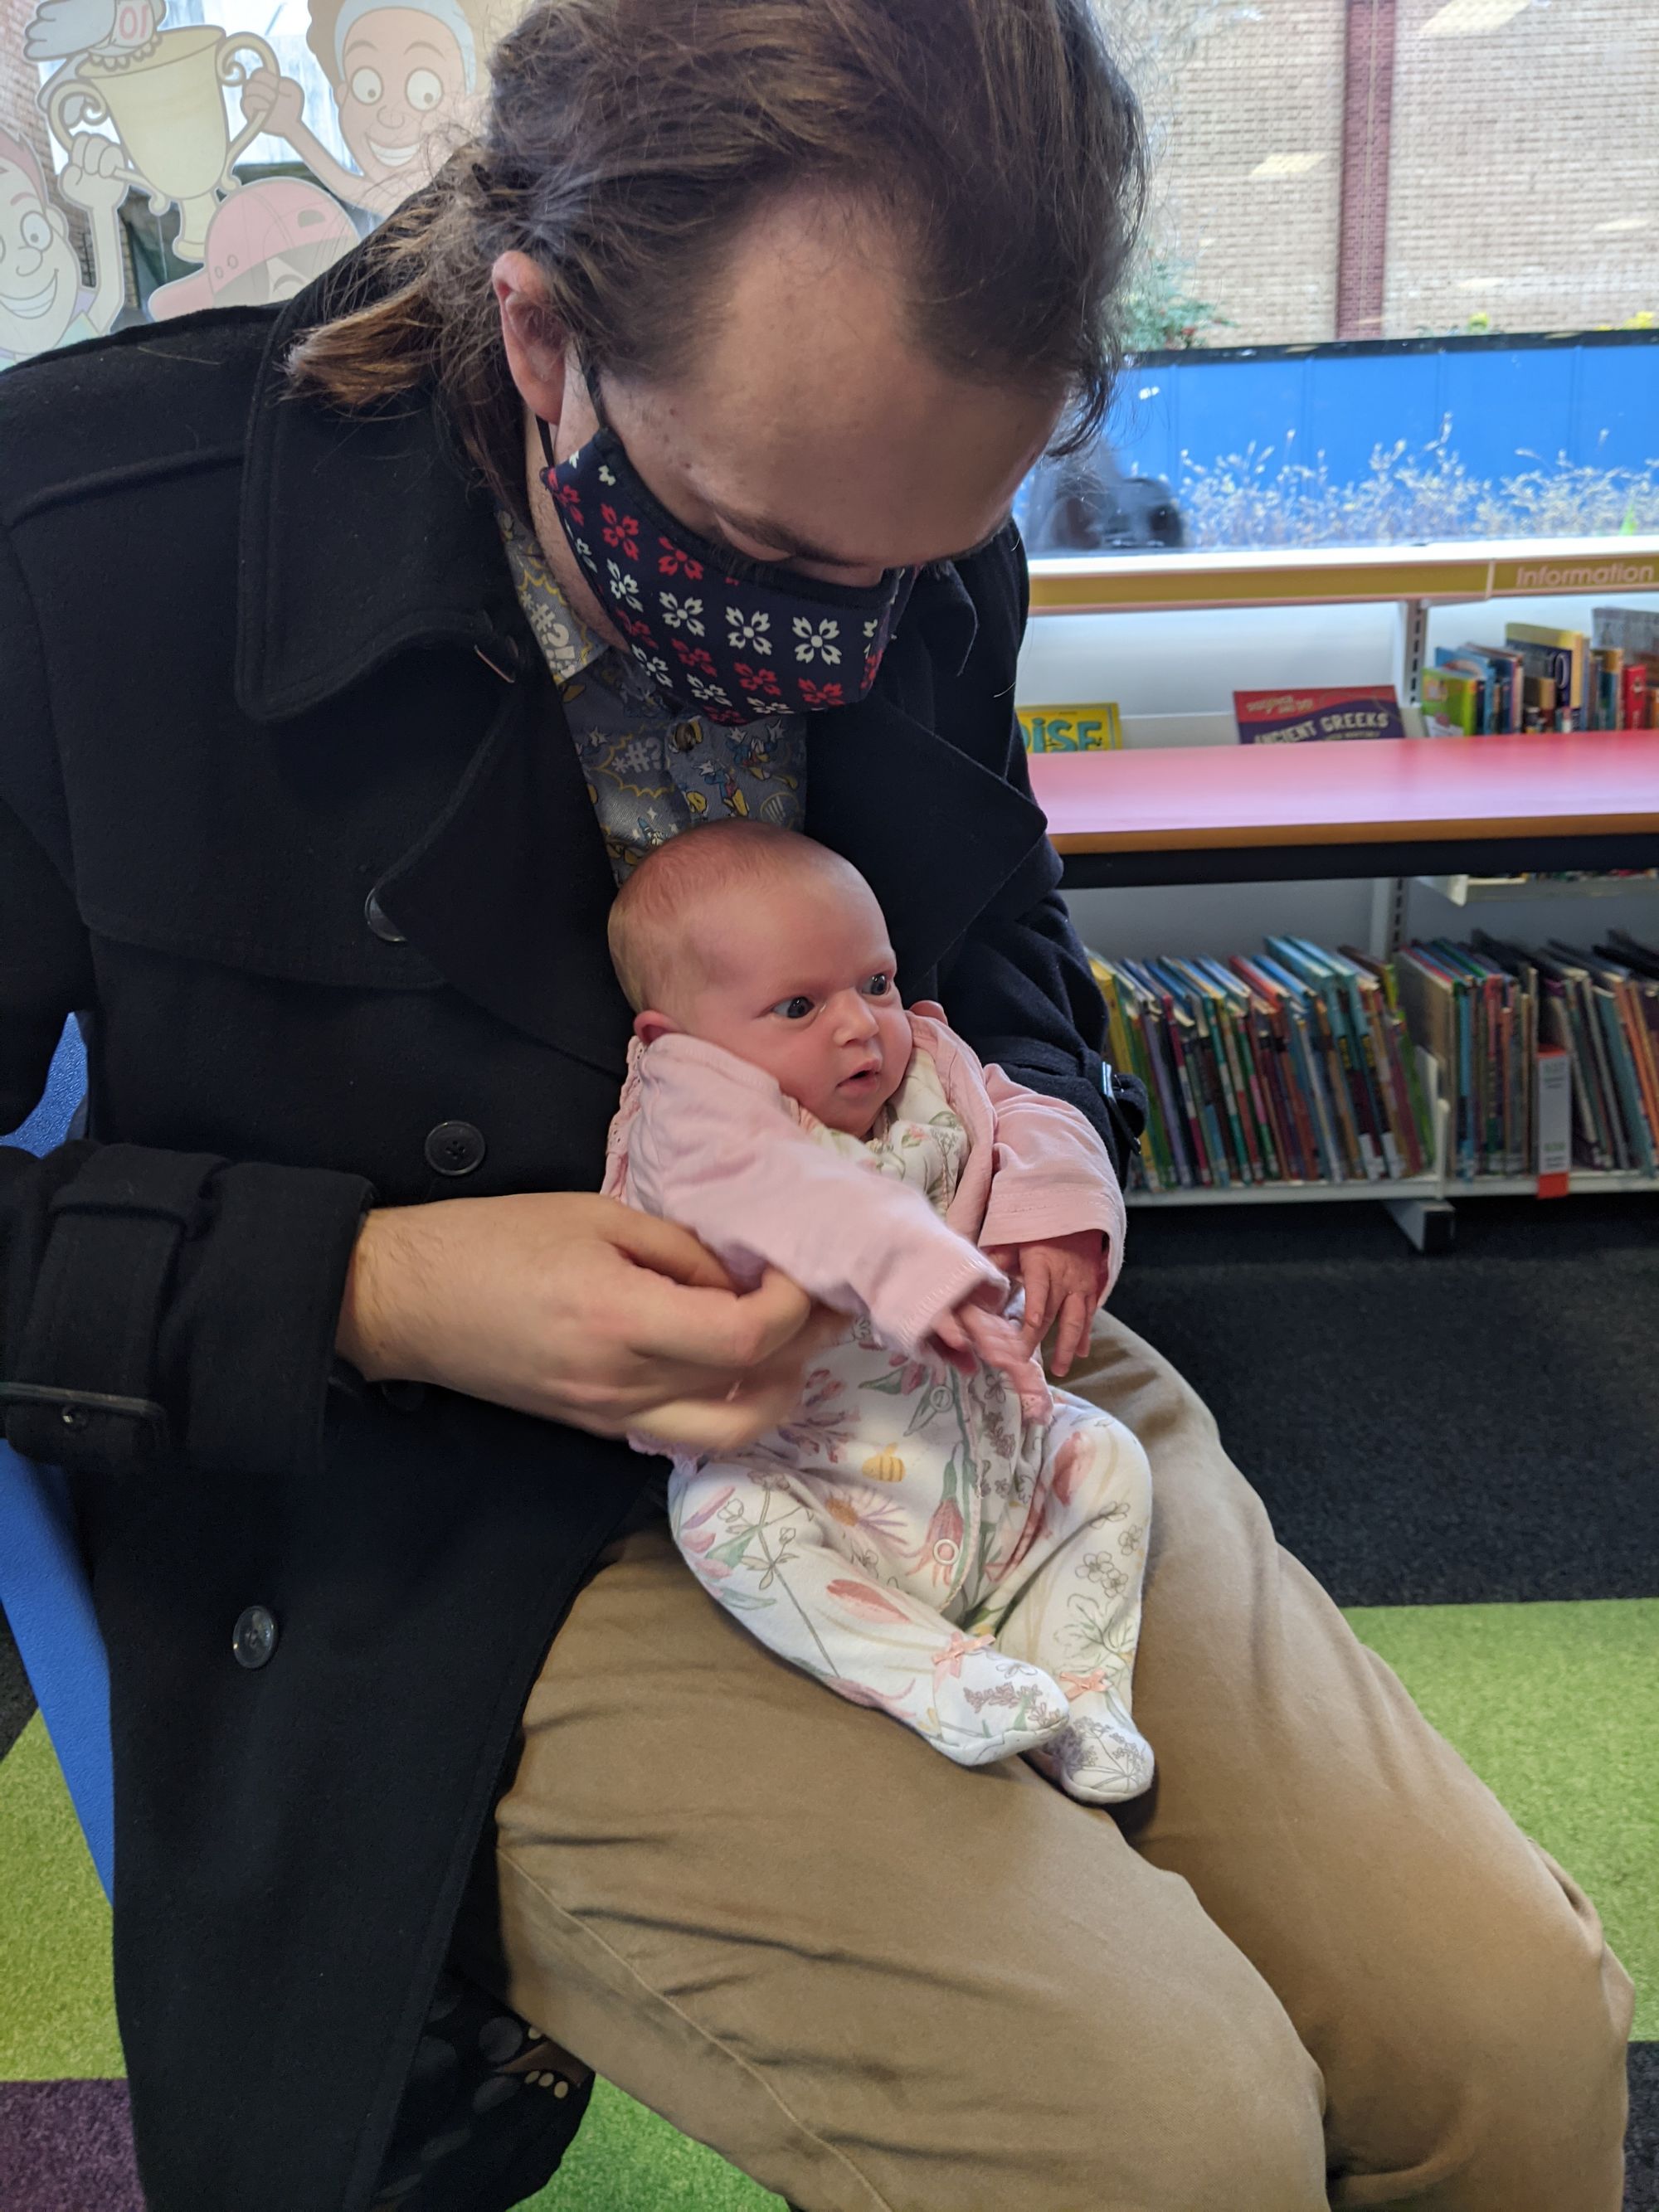
Lyra is named after the Lyra constellation, which contains one of the brightest stars in the northern hemisphere (Lyra is also the main character of one of my favourite book series, His Dark Materials, which is a bonus).
I've drawn on some lines that make up her constellation below, which sits above her cot.